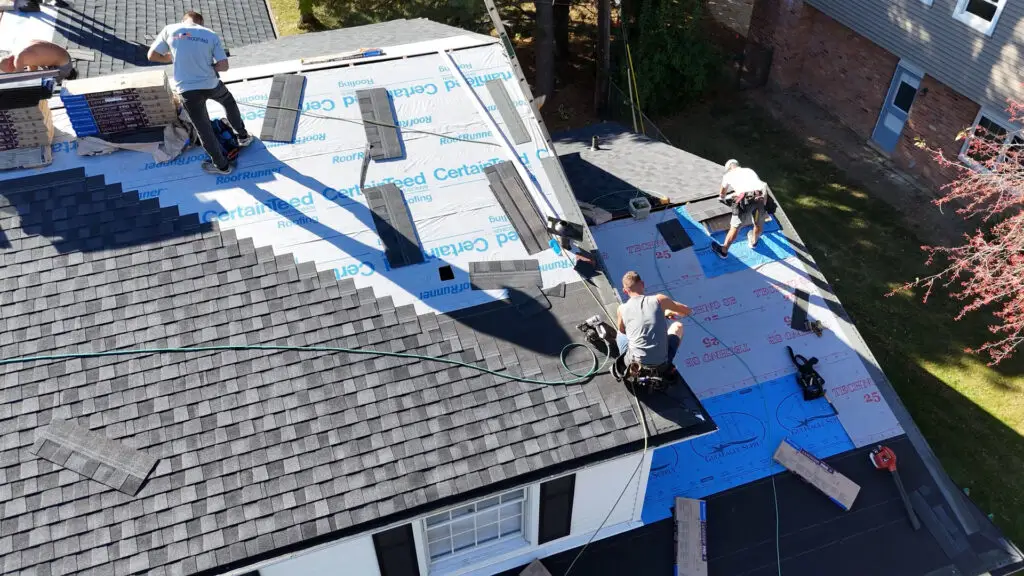
Your home’s roof is one of the most critical components of your property, providing essential protection against the elements. However, many homeowners tend to overlook the importance of regular roof maintenance and timely repairs. Here at BCM Roofing, we get asked by home owners often about how to patch their home’s roof in order to extend the lifespan of their existing roof. This article delves into the significance of maintaining your roof, the signs that indicate your roof may need repair, the tools and materials required for basic roof maintenance, and the steps to effectively patch your roof. By the end, you will have a comprehensive understanding of how to care for your roof properly and extend its lifespan.
Importance of Roof Patching
Prevention of Major Repairs
Regular maintenance of your roof is essential in preventing small issues from escalating into major problems. Minor leaks, for instance, can lead to extensive water damage, mold growth, and structural issues if left unattended. By conducting routine inspections and repairs, you can identify potential problems early, which will save you a substantial amount of money in the long run.
Furthermore, maintaining your roof can prevent the need for a complete roof replacement, which is a significant financial investment. By addressing minor issues promptly, you can keep your roof in good condition, thereby avoiding the hefty costs associated with major repairs or replacements.
Extending Roof Lifespan
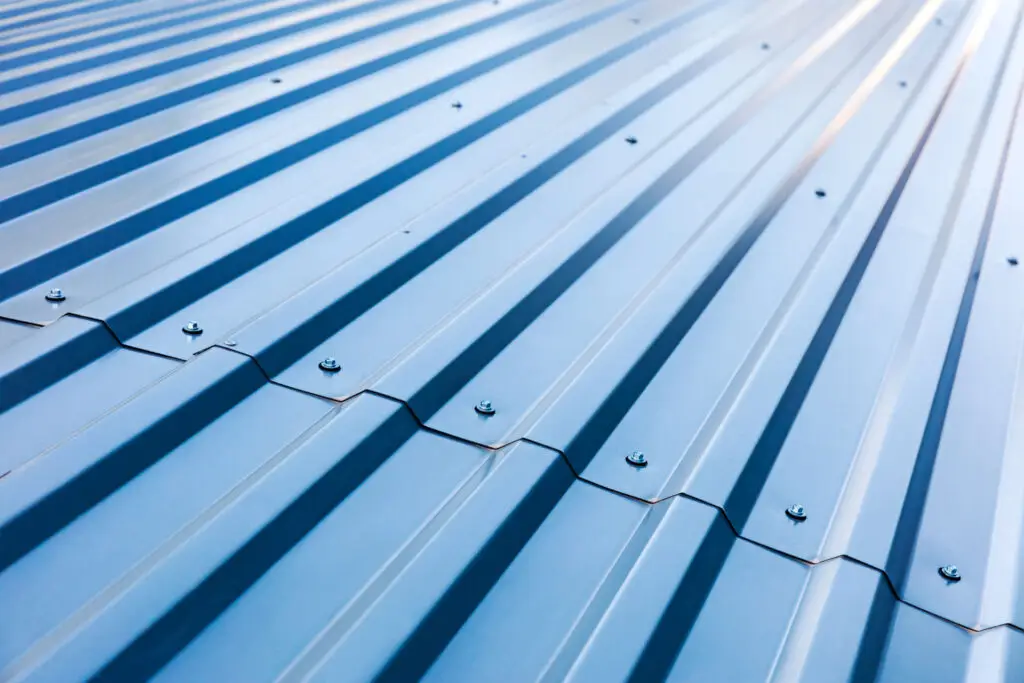
The lifespan of a roof can significantly vary depending on its materials and maintenance practices. Regular maintenance can extend the lifespan of your roof by several years. For example, asphalt shingles can last between 20 to 30 years if well-maintained, while metal roofs can last 40 years or more. Regular inspections, cleaning debris, and addressing small repairs can help ensure that your roof reaches its maximum potential lifespan.
Additionally, seasonal maintenance, such as clearing gutters and checking for ice damming in winter, is crucial for maintaining the integrity of your roof. By proactively maintaining your roof, you can enjoy peace of mind knowing that it will protect your home for many years to come.
Improving Energy Efficiency
A well-maintained roof can also lead to improved energy efficiency in your home. Poor insulation and ventilation can cause heating and cooling systems to work harder, resulting in higher energy bills. Regular roof inspections can identify areas where insulation may be lacking or where leaks could be contributing to energy loss.
Moreover, upgrading roofing materials, such as reflective shingles, can enhance energy efficiency by reducing heat absorption. Properly maintained roofs not only protect your home but can also contribute to significant savings on energy costs.
Signs Your Roof Needs Roof Patching
Visible Damage or Cracks
One of the most obvious signs that your roof may need repair or a roof patch is visible damage or cracks. These can manifest as missing shingles, broken tiles, or cracks in the roof’s surface. Regularly inspecting your roof after storms or high winds is essential, as these conditions can cause considerable damage.
If you notice any visible damage, it’s crucial to address it immediately. Even small cracks can allow moisture to seep into your home’s structure, leading to more severe issues down the line, including mold and wood rot.
Missing or Damaged Shingles
Missing or damaged shingles are another clear indicator that your roof needs attention. Shingles can be blown off during storms or may degrade over time due to exposure to the elements. If you find several missing shingles or damaged ones that are curling or buckling, it’s essential to repair or replace them promptly.
Ignoring missing shingles can lead to leaks and extensive water damage, which can be far more costly to repair than simply replacing a few shingles. Regular checks can help you catch these issues early, ensuring your roof remains in good condition.
Water Stains on Ceilings
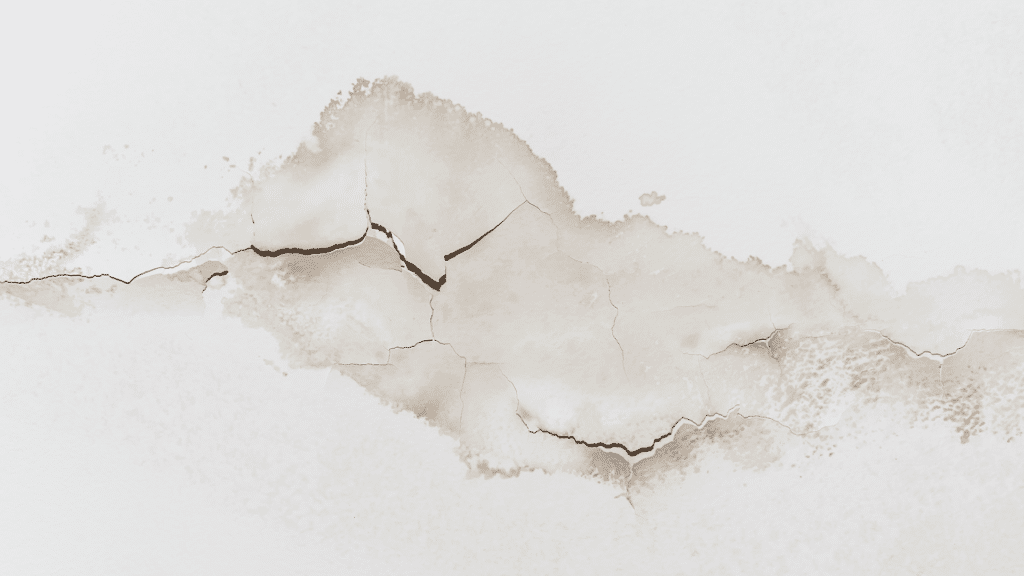
Water stains on ceilings or walls inside your home are often a clear sign of a roof leak. These stains can indicate that water is seeping through your roof and into your living spaces. If you notice water stains, it’s important to investigate the source immediately.
In many cases, these stains indicate that repairs are needed on your roof, such as sealing leaks or replacing damaged areas. Failing to address water stains can lead to more extensive damage, including structural issues and mold growth.
Increased Energy Bills
If you notice a sudden spike in your energy bills, it may be a sign that your roof is not performing effectively. Poor insulation or leaks can lead to increased energy loss, forcing your heating and cooling systems to work harder to maintain comfortable temperatures.
Regular roof maintenance can help identify insulation issues and ensure that your roof is energy-efficient. By addressing these problems, you can reduce energy costs and improve the overall comfort of your home.
Tools and Materials Required
Roof Patching Basic Tools
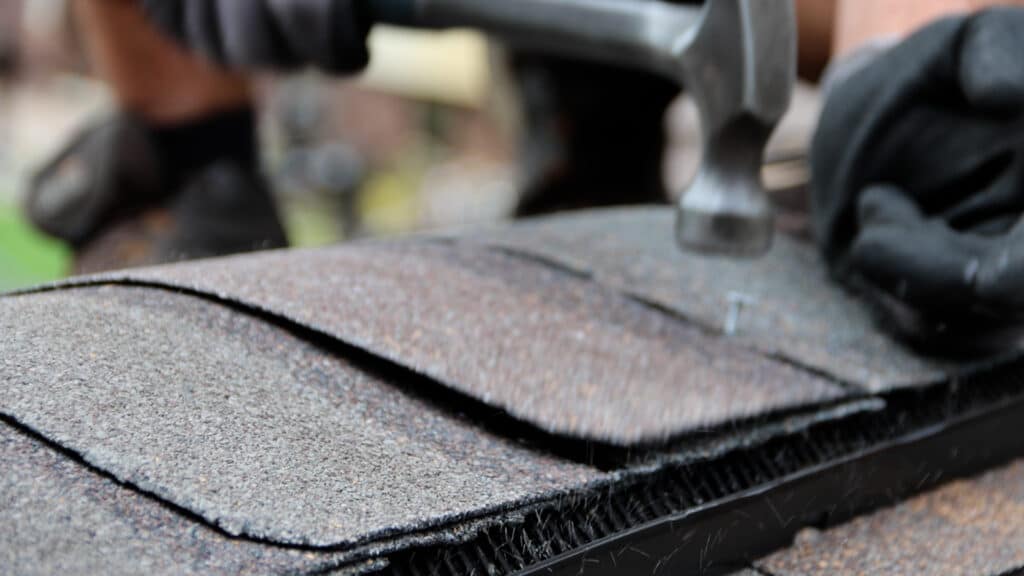
When it comes to patching your roof, having the right tools is essential. Basic tools include a ladder, a hammer, a utility knife, roofing nails, and a pry bar. A ladder will help you safely access your roof, while a hammer and pry bar will enable you to remove damaged shingles or materials.
Additionally, a utility knife is useful for cutting new shingles to the correct size. Having these tools on hand will facilitate the repair process and ensure that you can perform maintenance work effectively.
Roofing Materials
The choice of roofing materials will depend on the type of roof you have and the extent of the repairs needed. Common materials include asphalt shingles, metal roofing, and roofing cement. If you need to replace missing shingles, ensure you purchase the same type and color to maintain aesthetic continuity.
For minor leaks, roofing cement can be an effective solution. It’s essential to choose high-quality materials to ensure that the repairs are durable and long-lasting. Investing in quality materials can save you time and money by reducing the frequency of repairs in the future.
Safety Equipment
Safety should be your top priority when performing any roofing maintenance or repairs. Necessary safety equipment includes a hard hat, safety harness, non-slip shoes, and safety goggles. A hard hat protects your head from falling debris, while a safety harness can prevent falls from heights.
Non-slip shoes will provide better traction on the roof, reducing the risk of slipping. Safety goggles protect your eyes from dust and debris while working. Ensuring you wear the appropriate safety gear is crucial to prevent injuries while working on your roof.
Patching Your Roof: Step-by-Step Guide
Step 1: Inspect the Roof
The first step in patching your roof is to conduct a thorough inspection. Carefully examine your roof for any signs of damage, including missing or damaged shingles, cracks, and leaks. Use binoculars for a closer look from the ground if your roof is particularly high or steep.
Ensure to check both the exterior and interior of your home for any signs of water damage or stains, as these may indicate underlying issues that need addressing. Take note of all the areas that require repair, making a plan for how you will proceed with the necessary fixes.
Step 2: Prepare the Work Area for Roof Patching
Before you begin any actual repair work, it’s essential to prepare your work area. Clear any debris, leaves, or branches from the roof to ensure a safe and clean working environment. If necessary, set up a tarp to catch any debris or materials that may fall during the repair process.
Ensure your ladder is stable and placed on firm ground. Having a buddy system in place while working at heights is also beneficial. This way, someone can assist you or call for help if needed.
Step 3: Remove Damaged Shingles
Once your work area is prepared, carefully remove any damaged shingles. Use a pry bar to lift the shingles and remove the nails holding them in place. Take care not to damage the surrounding shingles while doing this. If you encounter any adhesive, a utility knife can help cut through it.
Set the damaged shingles aside and take note of the size and type, as you will need to replace them with similar materials. This step is crucial to ensure that the repaired area blends seamlessly with the rest of the roof.
Step 4: Install New Shingles
After removing the damaged shingles, it’s time to install the new ones. Begin by placing the new shingle in the correct position, ensuring it aligns with the surrounding shingles. Use roofing nails to secure the new shingle in place, making sure to follow the manufacturer’s guidelines for spacing and fastening.
Once the new shingle is installed, check for any gaps or areas where water can enter. Applying a small amount of roofing cement around the edges can help seal the new shingle and provide additional protection against leaks.
Step 5: Final Inspection
Once all repairs are made, conduct a final inspection of the entire roof. Check to ensure that all new shingles are securely in place and that there are no visible gaps. Inspect the areas around flashing and vents, as these can often be sources of leaks.
After confirming that everything is secure, clear your work area of any tools and debris. It’s also a good idea to monitor the repaired area after the next rain to ensure there are no leaks.
Conclusion
Maintaining and repairing your roof is essential for protecting your home and ensuring its longevity. Regular maintenance not only prevents costly repairs but also enhances energy efficiency and extends the roof’s lifespan. By recognizing the signs that your roof needs repair, equipping yourself with the proper tools and materials, and following a structured approach to patching your roof, you can keep your home safe and secure.
Remember that safety is paramount when working on your roof. If you feel uncomfortable performing repairs yourself, consider hiring a professional like BCM Roofing to ensure the work is done correctly and safely. Through diligence and care, you can maintain a robust roof that will protect your home for years to come.
Roof Patching FAQs
How often should I inspect my roof?
It’s recommended to inspect your roof at least twice a year, ideally in the spring and fall, as well as after severe weather events.
What are the most common roofing materials?
The most common roofing materials include asphalt shingles, metal roofing, wood shakes, and tile. Each has its pros and cons, depending on climate and aesthetic preferences.
Can I patch my roof myself?
Yes, if you have the right tools, materials, and safety precautions in place, you can patch your roof yourself. However, if you’re unsure, it might be best to hire a professional.
How much does it cost to repair a roof?
The cost of roof repairs can vary widely based on the extent of the damage, materials used, and labor costs in your area. On average, small repairs can range from $150 to $1,500.
What should I do if I notice a leak?
If you notice a leak, it’s crucial to address it immediately. Locate the source of the leak and make temporary measures to minimize damage, such as placing a bucket under the leak, and call a professional for permanent repairs.
